Introduction: Why I Sketch from Nature
One morning in 2020 I pulled my mail van over beside a cabbage tree on the Motueka highway. It was drizzling. The leaves were fanned out against a grey sky, and I thought, I want to draw that. I dug out a pencil from the glovebox, flipped open a cheap notebook, and spent ten minutes making a terrible drawing. That was the moment sketching from nature hooked me.
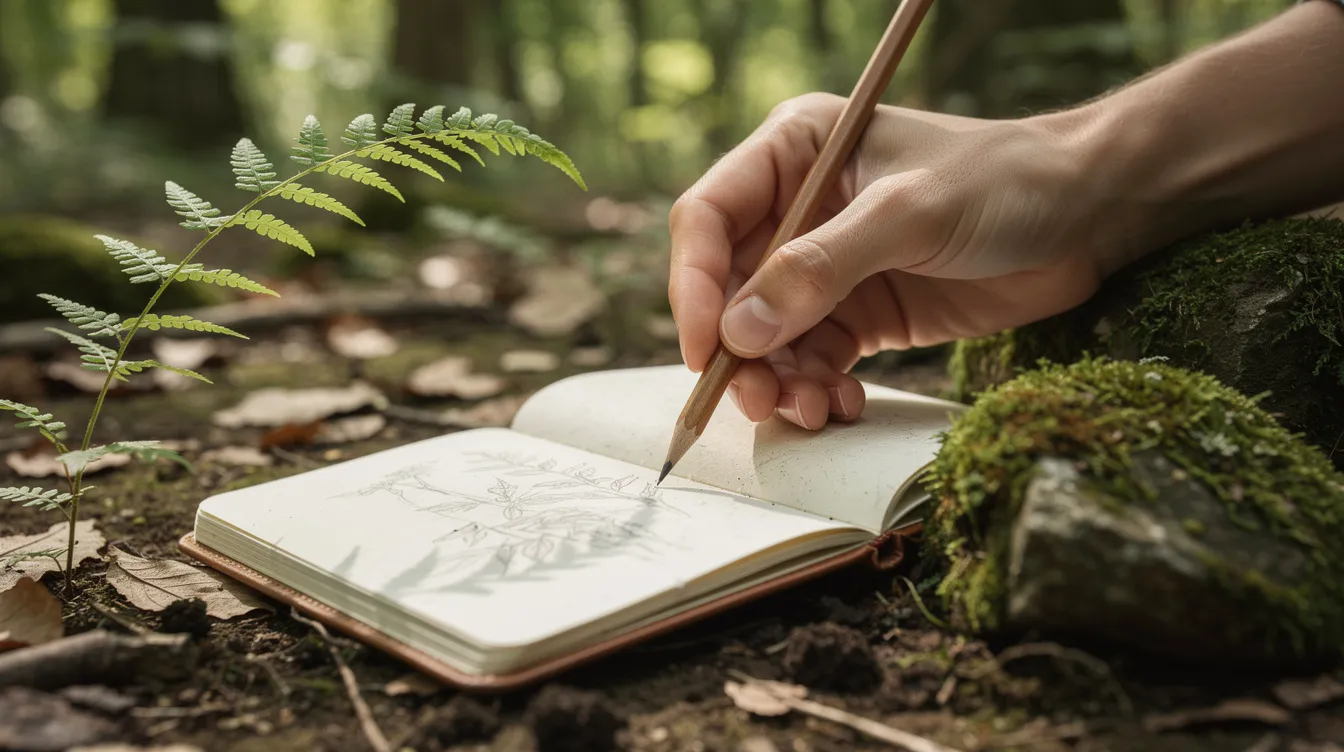
The deeper origin goes back further. Six years ago I found a shoebox of my grandmother’s pressed ferns, each one taped to a card with a date and a place in her handwriting. I tried to draw one at the kitchen table. It looked terrible. I kept at it anyway, and now a battered journal lives in the van’s glovebox. If you want to keep a plant that will not stay still, I explain how to press flowers for a nature journal.
Here is the whole method in one line: one pencil, one cheap sketchbook, one small thing you can look at for ten minutes. Draw it slowly and badly, write the date beside it, and repeat tomorrow.
Nature drawing means drawing real plants, birds, weather, and small scenes you see around you, not idealized fantasy landscapes. It is for beginners and busy people, not just trained artists. This article gives practical, step by step tips so you can start sketching outdoors today with paper, a pencil, and maybe a few colored pencils. Happy sketching, and let’s get into it.
Gathering Simple Art Supplies for Sketching Outdoors
I keep a tiny kit in the glovebox, and I will confess that my biggest early mistake was buying too much. A giant bag of art supplies stays at home. A tiny kit goes everywhere. Portable sketching tools enhance flexibility while drawing outdoors, and that flexibility is what keeps the habit alive. A portable sketchbook allows spontaneous sketching outdoors, which is exactly how most of my pages get filled.
Here is what I actually carry:
-
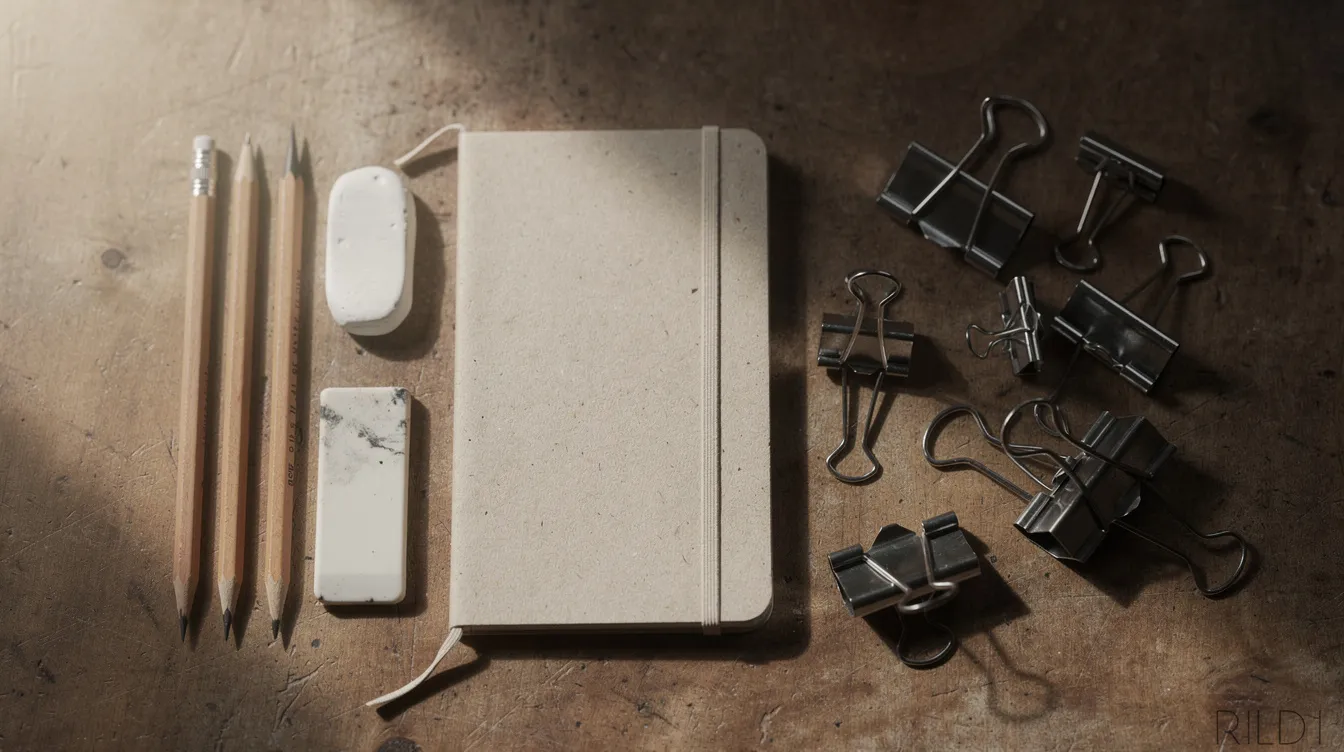
HB and 2B graphite pencils (the 2B is my favorite for richer lines). Essential materials include graphite pencils and heavyweight sketching paper, so do not skimp on these two.
-
A white or kneaded eraser and a sharpener with a shavings catcher.
-
A small A5 or A6 sketchbook with a sturdy cover and at least 120 gsm paper. If you want to add watercolor later, look for 200gsm cartridge paper for mixed media drawing. It handles wet and dry without warping.
-
A cheap clipboard or bit of cardboard as backing.
-
A fine black pen for when I feel brave.
Optional color: a basic set of 6 to 12 colored pencils focusing on earth tones and greens, plus one dark brown or indigo for deep shadows. Charcoal and oil pastels are also great for outdoor sketching if you like bold marks, though they are messier. A small travel watercolor set and water brush can wait until the pencil habit is settled.
Practical extras: a small cloth or tissue, bulldog clips for wind, a zip-lock bag for sudden rain, and a soft pencil case that tucks into a coat pocket. Everything fits in one zip bag.
Start with what you already have at home. Nature sketching can be done with simple materials like a pencil and sketchbook. A plain notebook and a pencil did my first dozen pages.
Choosing Subjects in the Natural World
Along my mail route I see hundreds of natural objects in a morning: a roadside lupin in December, a fantail on a fence post, interesting clouds over the Kahurangi ranges. I choose just one.
Drawing one object that holds still and fits in your hand is far less overwhelming than a whole landscape, and makes observation much easier at the start. Capturing the essence of natural scenes requires simplification of complex shapes, so begin small.
Easy subjects for beginners:
-
Single leaves, feathers, seed pods, pine cones, shells, and simple flowers like daisies, buttercups, or clover.
-
A fern frond is my forever favorite for its repeating pattern.
-
Rocks and bark are underrated because they do not wilt or fly away while you work. A magnifying glass can reveal interesting texture in lichen or moss you would otherwise miss.
-
Potted plants on a windowsill, weeds in the driveway, or moss on a garden wall. The natural world is closer than you think.
Seasonal prompts help too: autumn leaves in May in New Zealand, bare branches in winter, first blossoms in late August, or long summer grasses in January. There is always something to draw from your surroundings.
Start with Simple Shapes
Most nature drawing starts by breaking things into simple shapes like circles, ovals, triangles, and squares or rectangles. Basic shapes simplify complex natural objects for easier drawing, and they are how I begin every page.
Concrete examples:
-
An onion-shaped oval for a kowhai flower.
-
A stack of cylinders for a flax stem.
-
An egg-shaped oval for a blackbird’s body, and a triangle for a beak.
A mini exercise: sketch a leaf using a long oval, a central line for the midrib, and small angled lines for veins. Start drawing with light lines before emphasizing key shapes. For a fall leaf in particular, see my fall leaf drawing tutorial.
My biggest beginner mistake was that my brain kept supplying a cartoon leaf instead of the real one. Looking back and forth between the plant and the page cured it. Drawing from life helps develop a better understanding of shapes and forms. Keep first shapes light and loose, because pressing hard too early makes dark lines that are hard to erase and a stiff page. Drawing from observation improves hand eye coordination, and regular outdoor sketching improves it further over time.
Training yourself to see simple shapes makes later steps like shading and color easier and less scary. Sketching from nature helps beginners build core artistic skills one leaf at a time.
Observation: Slowing Down to Really See
Stopping to draw a single fern frond for ten minutes changed how I see my entire route. I started to notice tiny spores and torn tips I had skipped before. Mindful observation lets you notice details often overlooked in daily life.
Sketching from nature is mostly looking. I spend time studying natural objects before the pencil touches the page, a full minute of focused attention. Where does the subject start and end? Is it longer than wide? Count lobes, veins, or petals so you know how many to draw.
A one-minute exercise: describe the object silently or in a few written notes in your sketchbook. Note the color, texture, shape, any damage, and the way light falls on it. Mindful sketching enhances observation skills and creativity.
Look for patterns: the way veins branch on a leaf, the spiral of seeds in a pine cone, or the overlap of feathers on a sparrow’s wing. Try contour drawing, tracing the edges without lifting your pencil, because drawing without lifting your pencil enhances focused observation.
Use all senses safely: how bark feels, how a crushed leaf smells, how light feels on skin. None of this requires talent, only attention.
This tradition is old. The history of botanical illustration shows that careful recording of plants goes back centuries. Maria Sibylla Merian began studying caterpillars at age 13 and went on to draw insects and plants from living specimens, combining scientific accuracy with beauty. Drawing the real thing in front of you is an old and honorable habit, and you are joining it.
Building the Sketch: From Outline to Details
Once the simple shapes are in place, I slow down and refine them into a more accurate outline, then add intricate details. Sketching quickly trains the eye to capture essential forms over perfectionism, so do not worry about getting it perfect on the first pass.
Work from big to small:
-
Adjust the overall silhouette first.
-
Add landmarks like the center vein and main side veins of a leaf, or the central stem and paired leaflets of a fern.
-
Then add tiny marks like chips, spots, or insect bites.
Look hard at the edges. Are they smooth, toothed, or wavy? Draw the edge you actually see, not the one you think leaves have. Line weight variation adds depth and texture to your lines.
Use many light “searching” lines at first, then darken the single line that feels right and gently erase the rest. Gesture drawing captures the movement or energy of a subject quickly, so a few fast sketchy marks can suggest a bird or a leaf in the wind before it moves. Thumbnail sketches help test composition and layout before a detailed drawing.
For a concrete example: draw a daisy from above. Start with a circle for the centre, lightly mark a ring where petals will reach, then place petals one by one, noticing overlaps and gaps.
Know when to stop. Choose 2 or 3 features to describe in depth, and do not try to finish everything. Finishing a bad drawing teaches more than abandoning a good start. Handwritten notes beside the artwork can capture what pencil lines cannot.
Adding Light, Shadow, and a Little Color
Even simple shading makes a shell or pebble look solid, and color is optional but fun. I stayed with graphite and colored pencils for my whole first year and recommend it, since pencil is forgiving and needs no water, table, or drying time. Outdoor sketching emphasizes the importance of capturing light and shadow, and that is where a sketch starts to feel realistic.
Basic shading in plain words: decide where the light comes from. The side facing the light is lighter. The opposite side gets shadow. Gradual shading suggests curves. Creating depth in sketches involves using atmospheric perspective and varied details across the scene.
Shading techniques include hatching, cross hatching, and stippling:
-
Light parallel hatching for gentle shadows.
-
Cross hatching for darker areas inside flower centres or under leaves.
-
Small circular strokes for rough bark or lichen.
Colored pencils can express rich textures in nature drawings. For a fern, lay down a light yellow-green first, then a darker green in the shade, and a touch of brown where the stem dries at the base. A few shaded areas or two colors are enough.
Observe real color shifts instead of reaching for “leaf green” by habit. I see half a dozen greens on one roadside bank in January after rain. The subtle nuances in a single leaf can surprise you. When you are ready for painting with watercolor, go in gently with light washes over pencil lines and a barely wet water brush. For a full walkthrough, see starting a journal with watercolor.
Sketching Outdoors: Comfort, Weather, and Small Routines
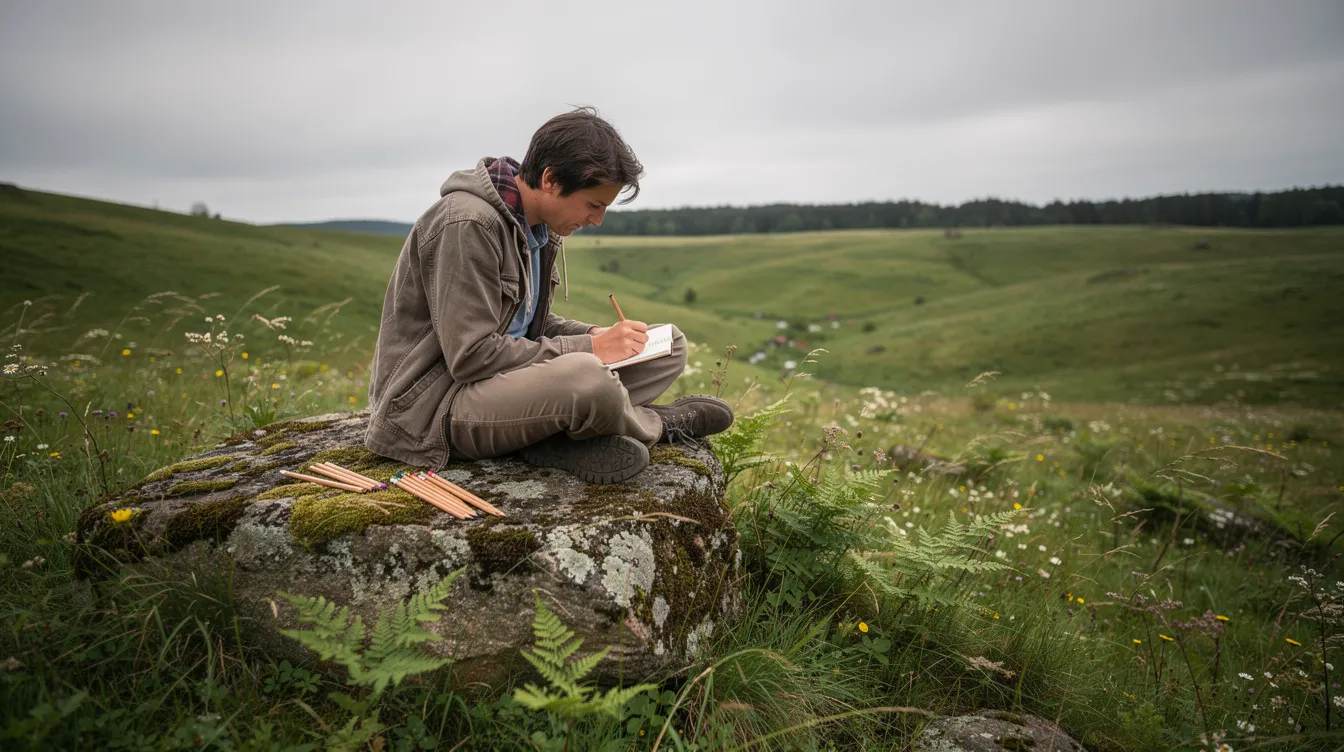
Sketching outdoors feels different from the kitchen table. Wind, changing light, sandflies, and birdsong all play a part. I will admit that sitting on a roadside with a sketchbook felt silly for my first few months and I was sure every passing car was judging me. They were not. Sketching outdoors encourages mindfulness and relaxation once you let the self-consciousness go. Outdoor sketching reduces stress and improves mental health, and sketching in nature can boost mood and self-esteem, even on a grey day. If the self-consciousness is holding you back, my notes on drawing outside when you feel awkward helped me get past it.
Create a comfortable workspace to encourage regular drawing. Practical ideas for locations:
-
A local park bench, a picnic table near the Maitai River in Nelson, a quiet corner of a backyard.
-
A bus stop with a view of a tree, or a short walk along a track edge.
Comfort tips: a light jacket, a small foldable stool or a flat rock, hair tucked under a cap, and bulldog clips to stop pages flapping.
For changing weather, do quick thumbnails when clouds race past or the sun drops. Save longer studies for calmer days. Do not wait for perfect weather, since drizzle, wind, and cold fingers are part of it and a quick sketch from inside the van counts.
A simple routine: pick a spot, take 30 seconds to breathe and look around, choose one subject, set a 5 or 10 minute limit for your sketching session, then jot weather and sounds in a margin. Sketching outdoors fosters a deeper connection with nature that photographs do not quite match.
Nature Journaling: Combining Words, Sketches, and Dates
My sketchbook is also my nature journal, with dates, weather notes, and little stories from my mail route in the margins of drawings. Creating a nature sketchbook serves as a personal field record, one you will be glad to have years from now. If you are new to keeping one, my post on getting started with nature journaling covers the basics.
A nature journal combines drawings, short notes, simple maps, and observations about plants, birds, and wildlife kept over time. Sketching from nature builds a visual library of organic forms you can reflect on later.
What to write next to a sketch:
-
Date and time.
-
Location (like “gate at the old hop farm”).
-
Weather.
-
Species name if known, and one thing you noticed.
-
If I do not know the name, I write “unknown, grows near the creek bridge” and look it up later.
Example page: a quick pencil sketch of a silver fern frond, the date “12 June 2025,” a note about frost still in the ditch, and a guess at the species.
Treat mistakes as part of the record. Never tear out pages. The bad ones show how far you have come. Crossed-out words and smudges prove you were really there, creating something real.
Making Sketching a Gentle Habit
My time is limited as a rural mail carrier, so I slip in 5 to 10 minute sketches between deliveries or at lunch. On lunch breaks I draw whatever I am sitting next to, whether a tussock, a gorse flower, or a rusty gate hinge with moss on it. Showing up is the most important part. Regular practice in nature sketching builds patience and confidence in drawing abilities.
Realistic routines to explore:
-
One drawing a day, even if it takes five minutes.
-
One small drawing a week if daily feels too much.
-
A 10 minute sketch with morning tea on Sundays.
-
Use the same notebook so nothing gets lost, and flip back through older pages weekly to see what changed.
Set realistic, achievable goals for your drawing routine. Short, consistent drawing sessions are more beneficial than infrequent ones. Practice regularly to improve your drawing skills over time, and keep your supplies packed by the door or in a bag so you can grab them without thinking.
Weekly prompts for ideas and inspiration: “one leaf,” “one bird silhouette,” “something with strong shadows,” “something from very close up.”
Every tiny sketch counts. Artistic growth is slow, and artistic skills develop in their own time. Your drawing skills will surprise you when you look back six months from now and discover the difference. The world is full of beauty and wonder if you slow down enough to observe it. The main goal is quiet enjoyment, a deeper connection to the present moment, and a life spent paying attention. So grab a pencil, step outside, find a friend in some small overlooked plant or stone, and give it ten minutes of your day. The process is the point. Hope to see you out there. Happy sketching.
FAQ
Do I need to know how to draw before I start sketching from nature? No. You learn by doing it. Start with simple shapes and one subject, and your eye and hand improve with repetition.
What is the cheapest way to begin? A plain notebook and a pencil are enough. Add colored pencils later if you want color.
How long should one sketching session take? Anywhere from five minutes to half an hour. I time-box mine, and a quick ten-minute sketch often teaches me more than a long one I fuss over. Imagine what a month of those adds up to.
Should I draw from a photo instead? A photo is fine on days you cannot get outside, but the real thing shows depth, texture, and how a stem actually joins a leaf. Spend time with real subjects when you can.
What if I do not know the names of what I draw? That is normal. Draw it, note where you found it, and identify it later with a field guide or a local plant group, then add the name to the page. The challenge of not knowing is part of the fun.