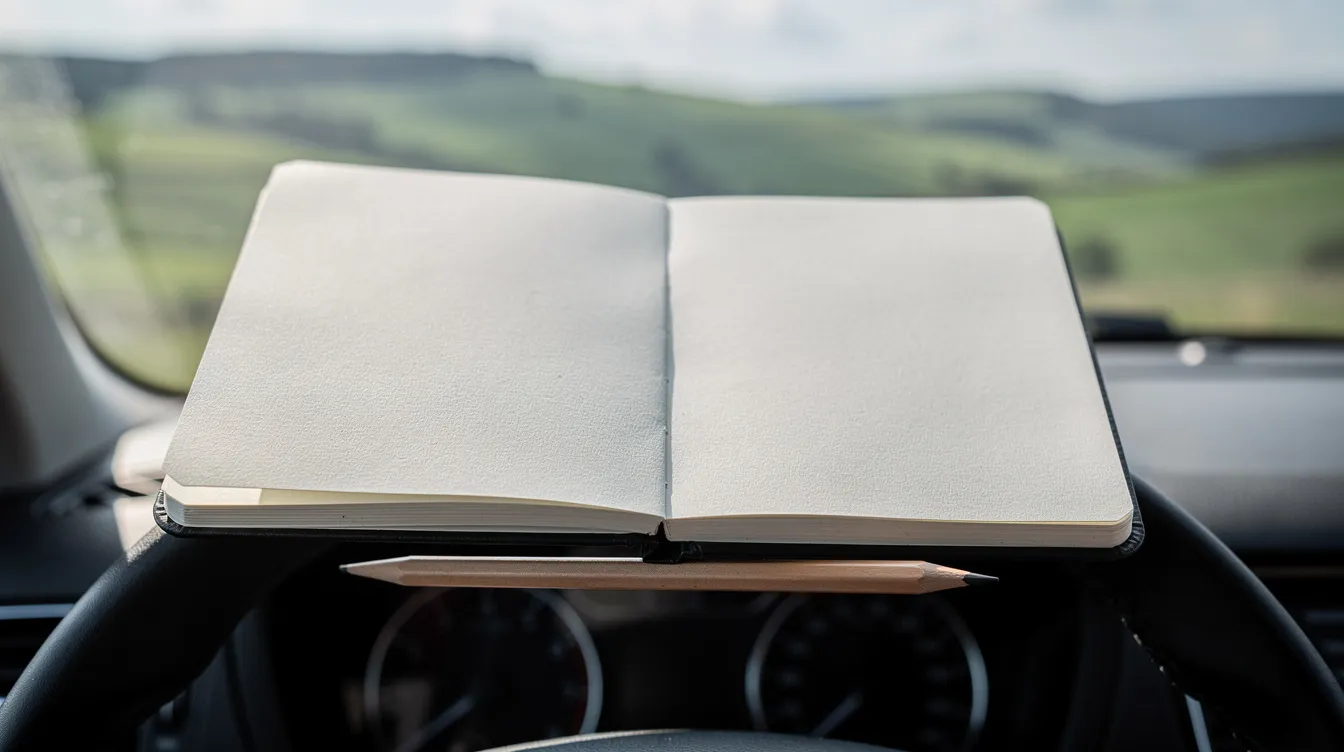
The first time I tried to draw outside, I was parked on my mail route near Nelson with a sketchbook open on the steering wheel and a fantail hopping along a fence. A farmer came up the drive, looked over my shoulder, looked at the bird, and said, “That’s him all right.” In six years of sketching outdoors, nobody has said anything unkind.
Why drawing outdoors feels scary (and why it is worth it)
I know the fear well. You picture yourself sitting in a park with a sketchbook and someone walking up, tilting their head, and judging every shaky line. You worry about ruining a nice scene by failing to capture it. You wonder if you are allowed to call yourself an artist when you have never taken a class.
The audience you imagine is much harsher than the real one. Most people walking past you are thinking about their lunch or their phone. The few who stop tend to be curious and kind. I have had strangers tell me about a bird they saw, or about a plant their grandmother grew. I have never had anyone laugh.
I am a hobbyist, not a professional. Fern and Pencil is just my personal blog where I share what I have learned keeping a nature journal in my van’s glovebox. So the advice here is relaxed and low pressure.
Here is my core point: awkwardness fades with repetition. The goal of the first few weeks is many easy, low stakes visits, not good drawings. Taking the habit outdoors felt far harder than drawing at my kitchen table, where I first tried one of my grandmother’s pressed ferns. But each short sketching session made the next one easier. Research backs this up. Outdoor drawing improves mental health and reduces stress, and engaging with nature through drawing enhances mindfulness and focus. A 2026 study on landscape sketching found that the process of creating outdoors leads to emotional healing and personal growth, even when the drawings are rough. Sketching outdoors can even reduce social anxiety over time, because the repeated experience of not being mocked slowly replaces the fear.
Drawing outdoors also enhances observational skills and artistic trust. You learn to see shapes, light and shadow in the natural world instead of copying from a photo on a screen. Sketching in nature fosters creativity and personal expression in ways a studio cannot, because the scene is alive and changing, and you have to respond to it.
This article will give you concrete steps to start drawing outside this week, with simple supplies and a gentle approach. If you want a shorter walk-through of the very first steps, my post on first steps for beginners covers the basics. I hope it helps.
What “drawing outdoors” means in real life
Drawing outdoors just means making a picture while looking at something real outside. A few terms float around and they all point to the same idea.
-
Sketching outdoors or outdoor sketching: drawing from life in any outdoor location.
-
Urban sketching: drawing scenes from streets, buildings and cafes in towns and cities. Urban sketching started in 2007 as a global community of people who draw the world around them.
-
En plein air: a French phrase meaning “in the open air.” Plein air painting became popular in the 18th century when French painters began working outdoors to study light and atmosphere. It is an old, ordinary tradition, so if you sit on a bench with a pencil you are joining something that painters have done for over two hundred years.
-
Travel sketching involves drawing while traveling with limited supplies, which is close to what I do from my mail van.
Plein air sketching means drawing outdoors, and that is all it needs to mean. Forget the glossy social media images of easels at golden hour. My reality is a small sketchbook propped on the steering wheel during a tea break, or a quick drawing on a wet park bench. Drawing outside can be five minutes at a bus stop or a whole afternoon in a garden. I mostly draw plants, weather and birds, but you can choose streets, cafes, backyards or a riverbank. Whatever surroundings you pass through every day will do. Painters still call this practice en plein air.
The smallest possible outdoor sketch kit
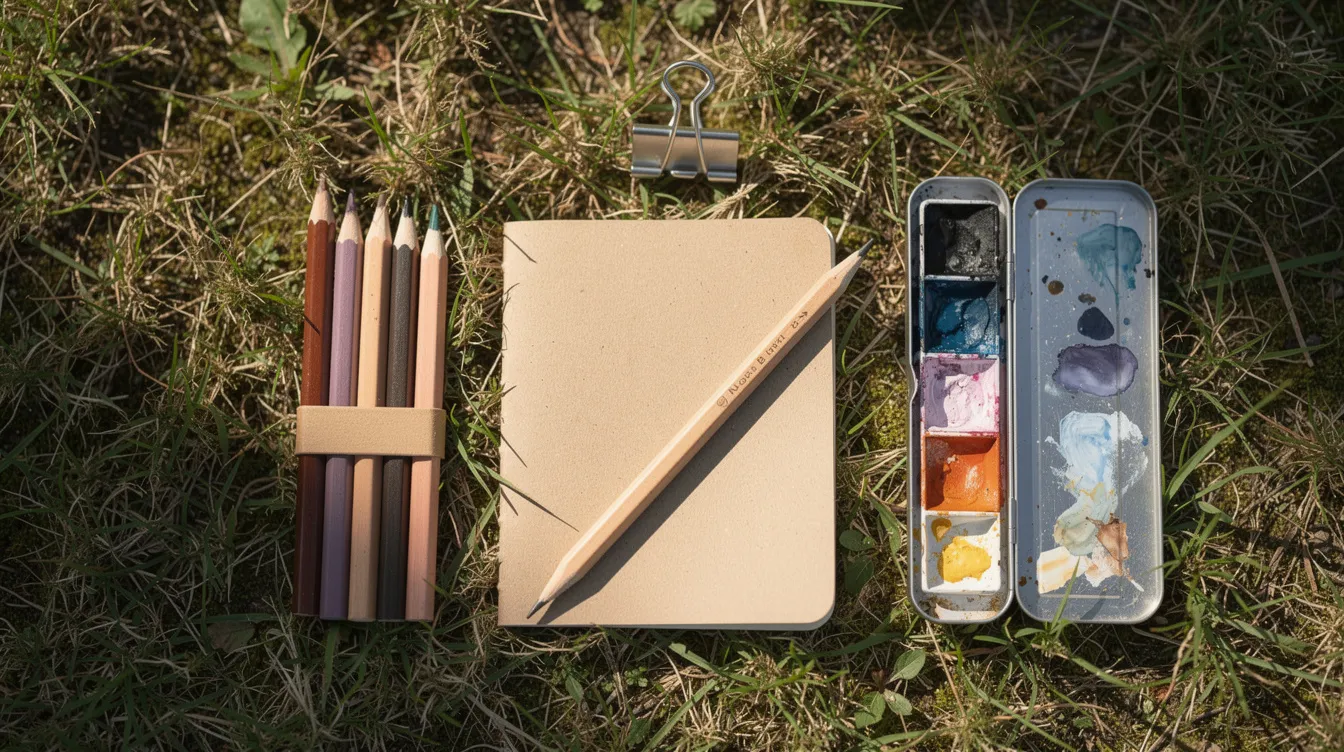
Before I start my mail route each morning I open the glovebox and check that my kit is there: a small nature journal, a mechanical pencil, and a tiny roll of colored pencils held with a rubber band. That is usually enough. On days I feel brave I add a waterbrush and a pocket watercolor tin.
Here is a starter list with cheap options:
|
Item |
Why |
Cheap option |
|---|---|---|
|
A5 or A6 sketchbook |
Use a sketchbook with sturdy paper for drawing outdoors, at least 200 gsm so washes do not buckle |
Supermarket mixed media notebook |
|
2B or mechanical pencil |
No sharpening needed, fits a pocket |
Any stationery shop pencil |
|
Fineliner or a few colored pencils |
Adds line or color without mess |
Student grade set of six |
|
Eraser |
Fixes early marks |
Kneaded or plastic, whatever is handy |
|
Bulldog clip |
To avoid getting blown away, use bulldog clips or binder clips on pages when wind picks up |
Hardware store, pennies each |
Using a portable sketchbook encourages daily drawing because it is always within reach. A lightweight, compact setup facilitates comfortable outdoor sketching. Keep your outdoor drawing kit minimal to encourage frequent practice. A big easel announces “I am now doing Art,” while a pencil and pocket notebook do not. Everything has to fit a glovebox or coat pocket, and a small kit means I never debate whether a two minute wait at a gate is “worth” drawing.
For comfort, bring a hat, a light rain jacket, and a grocery bag to sit on damp grass. You can also use natural elements as tools for drawing, like crafting brushes from twigs if you want to experiment with texture.
Choosing a first outdoor subject that will not overwhelm you
The first subject should be “boring” and still, not a sweeping landscape. A grand landscape is the hardest thing to draw and the most obvious thing to be seen drawing. When overwhelmed, focus on smaller, detailed subjects instead of grand landscapes.
Good starters:
-
A fern frond or leaf on the ground (my own favorite)
-
A fence post with lichen
-
A seed head or feather
-
A potted plant by the front door
-
The view from a kitchen window, which is outdoors but you are safely inside
Narrow the scene with a finger “viewfinder.” Hold your hands up in a rectangle and frame one small cluster of leaves or one corner of a building. Looking down at a still subject on the ground makes you look like someone checking their notes, not performing art. Practice with basic shapes and forms to build confidence in drawing. Squint at your subject to simplify shapes and reduce details when sketching, so you see only the big dark and light areas.
Quick thumbnail sketches help manage overwhelming details. Before a bigger drawing, do a postage stamp sized sketch to figure out what goes where.
Avoid moving subjects like children or busy birds at first, and save complicated city scenes for later.
Quick warm-ups: five-minute drawings outdoors
On my route I use five minute stops for warm-ups. I draw only silhouettes of trees against the sky, or only the shadows under parked cars. No all the details, just big shapes.
Try these mini exercises on your next tea break:
-
Draw ten tiny boxes on a page. Fill each one with a 30 second sketch of something you can see.
-
Do a continuous line drawing of a fence or hedge without lifting your pen.
-
Spend five minutes on cloud shapes with no detail at all, just outlines and shading.
-
Draw only negative space: the gaps between branches, not the branches themselves.
Set a timer. Short timer sketches help capture basic shapes before lighting changes, and the timer gives you permission to quit, which makes starting much easier when you are nervous about being watched. Most days I keep going anyway. Keep drawing sessions short to remain stress free and relaxed. Enjoy simple outdoor sessions rather than feeling pressured for perfection.
Use only one tool. A single pen means fewer decisions and more focus. These are quick sketches, not finished artwork.
Handling the fear of being watched
The first time someone in Brightwater asked what I was doing as I drew their front garden, my hands shook. I said something like, “Just sketching the ferns, I am terrible at it but I enjoy it.” She laughed and said her hydrangeas were better. That was it.
Simple scripts that work:
-
“I keep a little nature journal for fun.”
-
“Just practicing my observational drawing.”
-
“I am learning to sketch plants.”
It disarms people and ends the worry. Choose familiar areas to reduce anxiety while sketching. Here are some safer spots:
-
A parked car with the window down. I draw from the driver’s seat all the time.
-
A bench facing a hedge or a quiet corner of a park in the morning.
-
Your own porch or back step.
-
A cafe window, where sitting and looking is already normal.
One earbud with music or an audiobook creates a bubble while you stay aware of your surroundings. And you can close the book. Nobody is owed a look at your sketchbook, and shutting it is a polite, complete answer. Over a few weeks most passersby ignore you or are kindly curious, and some tell you about a bird or a plant their gran grew. Plein air sketching connects artists directly with their environment, and that connection is what matters, not performing for an audience.
Simple composition tricks for outdoor scenes
There is an idea from the painter Bonnard that good composition helps a painting feel “half done,” leaving space and suggestion rather than filling every centimetre. I think of it this way: a drawing does not need all the details of the scene. It needs the right few.
Choose one main subject and place it off center, roughly a third of the way across the page. Then try these tools:
-
Trace the skyline with a finger first. This gives you the horizon and a sense of where the weight of the landscape sits.
-
Lightly box in the composition in pencil before adding anything else. I do this every time I draw hedgerows or farm buildings along my route.
-
Use a path, fence or stream as a leading line that pulls the eye into the picture. On my route the gravel road to Takaka Hill makes a perfect line toward the ridgeline.
Establish cast shadows and light sources quickly during outdoor drawing, because the light moves. Mind the time of day to enhance lighting and shadow dynamics in sketches. Overcast days are forgiving; bright midday sun creates harsh contrasts that are harder to manage. Outdoor drawing helps develop editing skills in dynamic environments, because you must decide what to leave out as conditions shift around you.
Drawing plants and weather outside: my favourite subjects
My outdoor drawing is mostly nature journaling: ferns, gorse, lupins by the roadside, clouds building over Tasman Bay, and rain tracks on the van windshield. I find endless inspiration in the things I pass every day.
For a simple plant study, try this process:
-
Outline the basic shape of the leaf or frond.
-
Mark the main veins and edges.
-
Add a few colored pencil layers, starting with light greens and building toward darker tones.
Consider seasonal changes when choosing sketching locations. Kowhai blossom in September, bare twisting branches in July, and gorse flowering along every fence line through spring all make good prompts as the seasons change. Sketch in gardens, parks, or scenic landscapes, wherever life is growing. If autumn is your season, you can follow my step-by-step guide to sketching a fall leaf next.
I also keep weather boxes in my journal: small dated rectangles with wind direction, cloud type and a quick note. “Nor’wester, dust across paddocks.” “Wind from the south, tui in the flax.” A messy sketch with a note beside it is a perfectly good journal page, and the writing gives the page a point beyond “make a pretty picture.” I have a separate post on writing nature observations in your journal for readers who want ideas on what to jot beside a sketch.
Readers in cities can borrow this by exploring weeds in pavement cracks or the way light hits apartment balconies. Nature grows everywhere if you look closely.
Urban sketching on a small budget
I live rurally but sometimes drive into Nelson to sketch shopfronts, buses and people waiting for coffee. That is my simple version of urban sketching, and an urban sketcher does not need expensive equipment.
Free or cheap places where sitting and looking is normal:
-
Public libraries (sit by the window)
-
Train stations or bus stops
-
River promenades
-
Farmers’ markets
Use Google Maps to find interesting sketching locations you might not have thought of, and make a list of places you want to revisit for sketching. For drawing people quickly, start with stick figure gestures to capture posture, then block in shapes for jackets and bags, and skip faces at first. The same tiny kit works. This is just another way of working outdoors in ordinary life, not an expert only hobby. You do not need a canvas or special resources.
Learning from other artists without feeling small
When I first found other artists who sketch outside, their pages made mine look clumsy. Then I started looking differently. Instead of comparing the whole sketchbook, I borrowed specific things: how one person simplified trees into three values of green, how another labelled dates and places in tiny handwriting, how much white space someone left on a page.
Keep a tiny “things to try” list at the back of your sketchbook. Mine currently says things like “draw bark texture,” “try a continuous line fern,” and “leave more space around the edges.”
If animal and creature drawing is your interest, Creature Art Teacher by Aaron Blaise (a former Disney animator) looks worth exploring. There are many tutorials and digital resources available now. Pick teachers who match what you want to draw. I have only browsed Creature Art Teacher (Aaron Blaise) so far, but it is a fair place to start.
Remember that a busy parent, student or shift worker has different time and a different perspective than a full time illustrator, and that is fine. Fern and Pencil is one person’s experiments, not strict rules.
Turning outdoor sketches into a simple nature journal
I collect roadside sketches in my glovebox notebook, then add dates, plant names if I know them, and short notes about the day. That is nature journaling: a visual diary of your surroundings, not a portfolio. I have a beginner overview of what nature journaling is and how to start for readers who want the basics.
Page ideas to experiment with:
-
A “first frost of the year” spread
-
Leaf shapes from one walk
-
The sky at 5 pm over a week
-
One favourite tree through the seasons
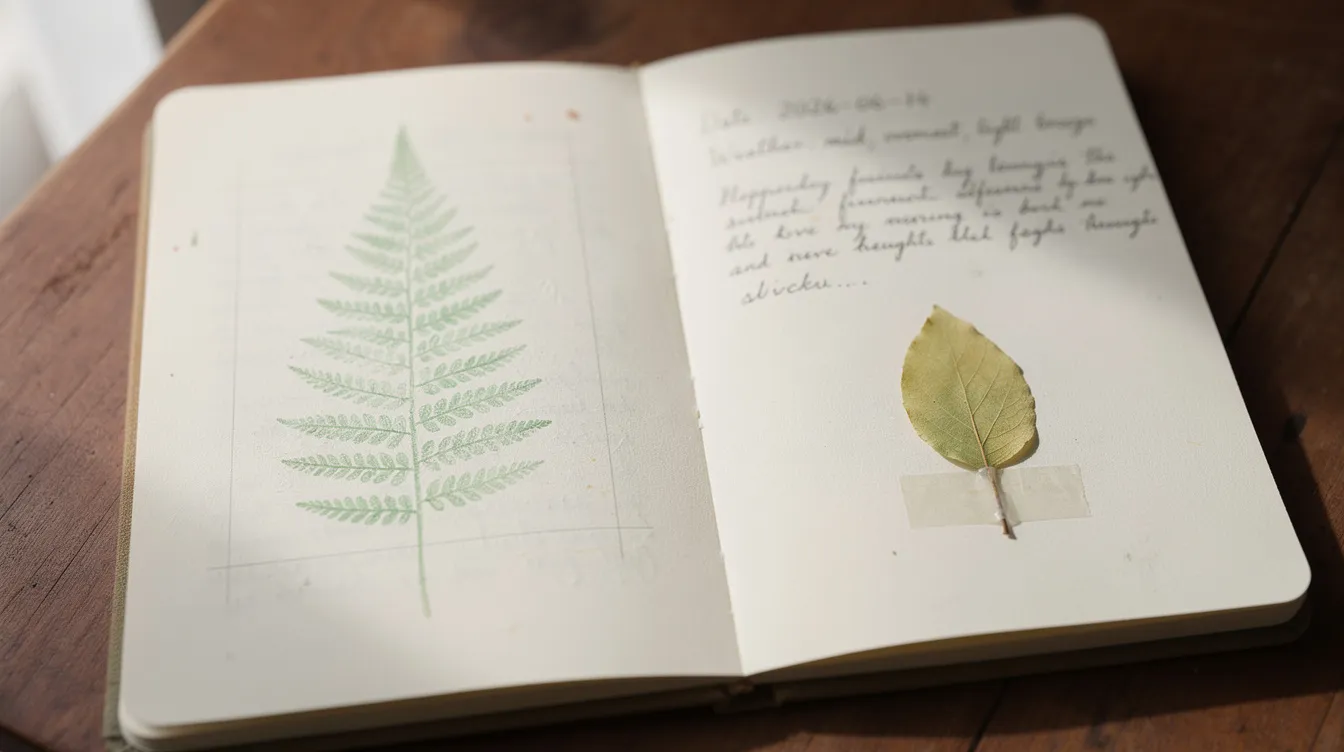
Press a leaf occasionally and tape it in beside a sketch, the way my grandmother did with her ferns. Bad pages are useful. They show where you were and how far you have come. That is what makes a journal feel like a real reference for your own life.
Planning your own “draw outside” habit
Choose a specific, realistic plan. “Ten minutes every Saturday morning in November” or “one quick sketch on my lunch break twice a week.” Keep the sketchbook by the door, in your bag or in the car so it is present when a spare moment appears.
My own routine is to return to the same pull-off by a paddock each Tuesday. The second visit was far easier than the first. I stopped worrying about what to draw, and noticing how the place changes with the seasons is what keeps me coming back more than any single drawing. Sketching outdoors helps improve observational skills because you see things you never noticed before, and that looking can make all the difference to how you move through the world.
I have written before about getting drawn into nature through sketching, for readers who want to see why small, regular looking beats occasional big efforts. Drawing outdoors can enhance mental health and relaxation even in short doses. Spend whatever time you have, and accept missed days. Just pick the pencil up again rather than “starting over.”
So here is your call to action: pick one spot you pass every day, take one small set of tools, set aside one short block of time this week, and create a very simple drawing. It does not need to be good. It just needs to exist. The awkwardness fades faster than you think. What stays is the looking, and it is fun.
FAQ
What if my drawings look bad?
They will at first, and that is normal. A journal is a record of looking, not a gallery. Keep the bad pages so you can see how far you have come. Compare to your own past drawings, not to other artists.
What is the best thing to draw first?
Something small, still and close: a leaf, seed pod or feather. These subjects need no perspective and give immediate visual feedback.
Do I need watercolors to draw outside?
No. A pencil and small notebook are enough. Add colored pencils when you want colour, then a waterbrush and pocket tin later. There is no rush.
How long should I draw for?
Five minutes is a good start. Set a timer and let yourself stop when it rings. Over time your sessions may grow longer naturally, but short is perfectly helpful.
What do I do when people stop to look?
Smile, say you are just practicing, and carry on or close the book. You are never obliged to show your pages.