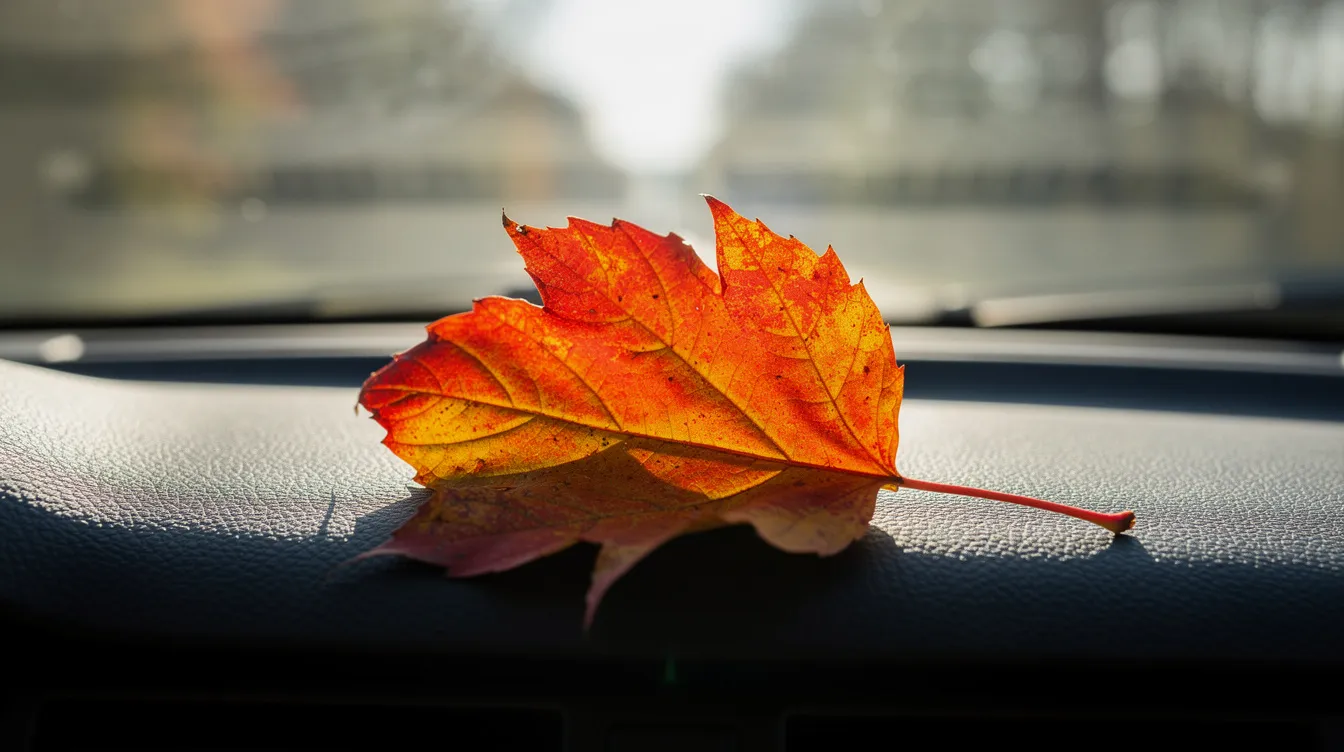
Last April I was delivering mail on my route outside Nelson when a liquidambar leaf landed on my dashboard. It was green at the stem, orange through the middle lobes, and tipped with a deep, dusty red. I pulled over at the next mailbox stop, opened my glovebox sketchbook, and spent my lunch break trying to get those colors down. That single leaf taught me more about drawing leaves than a dozen YouTube videos ever had.
This post is a simple lesson for anyone who wants to draw a fall leaf from life using just paper, a pencil and a handful of colored pencils. No fancy supplies, no watercolor, no training required. Six years ago I found my grandmother’s shoebox of pressed ferns, tried to draw one at the kitchen table, and made a mess. My first attempts were genuinely embarrassing. But a leaf is the easiest shape to begin with, and every sketch you finish makes the next one better. If you have never tried sketching from nature as a beginner, grab a leaf and sit down. That is the whole secret to starting.
Gathering Your Leaf and Simple Supplies
Go outside and collect a few fall leaves in different colors. Here in New Zealand our autumn runs from late March to May, and I watch for oaks, liquidambars and a few stubborn maples along my route. In the northern hemisphere, September and October are your months. Observing real leaves improves drawing accuracy far more than any photo, because an actual leaf shows irregular edges, color shifts and tiny imperfections you would never invent on your own.
Pick one leaf to focus on, preferably one that shows several colors rather than the most perfect specimen you can find. A maple leaf with its bold points, an oak leaf with rounded lobes, or a simple oval plum leaf all work well as easy fall leaves to practice on.
Supplies I actually carry in the glovebox:
-
HB or 2B graphite pencil
-
Small block eraser
-
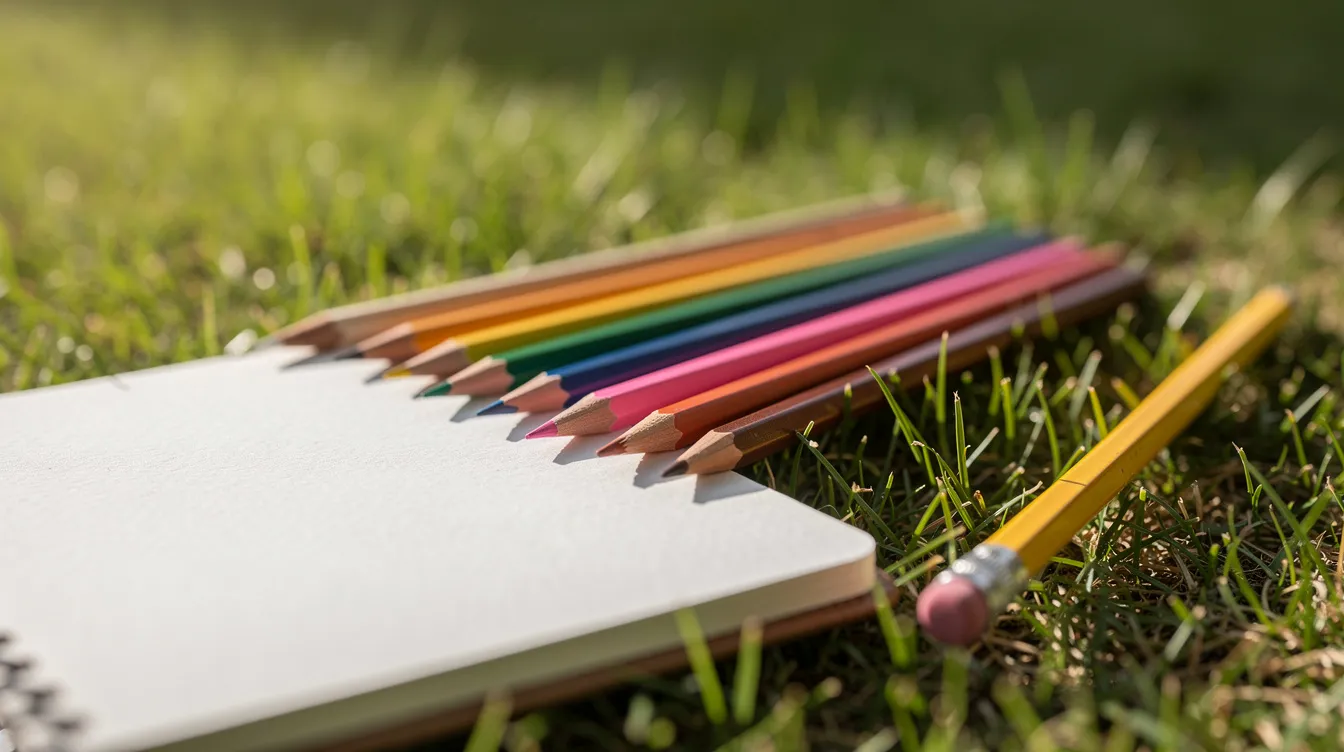
Student grade colored pencils (Yellow Ochre, Goldenrod, Burnt Orange, Scarlet Red, Dark Brown, Olive Green, plus a purple or dark blue)
-
Medium weight drawing paper or a sketchbook page (around 160 gsm so it does not buckle)
-
A bulldog clip as a drawing board
Use smooth watercolor paper if you have it, since it takes colored pencil layering nicely. A see-through ruler helps with precise measurements if you want to mark proportions, but I usually just eyeball it. Anything fancy stays at home.
Start with the Big Shape and Center Vein
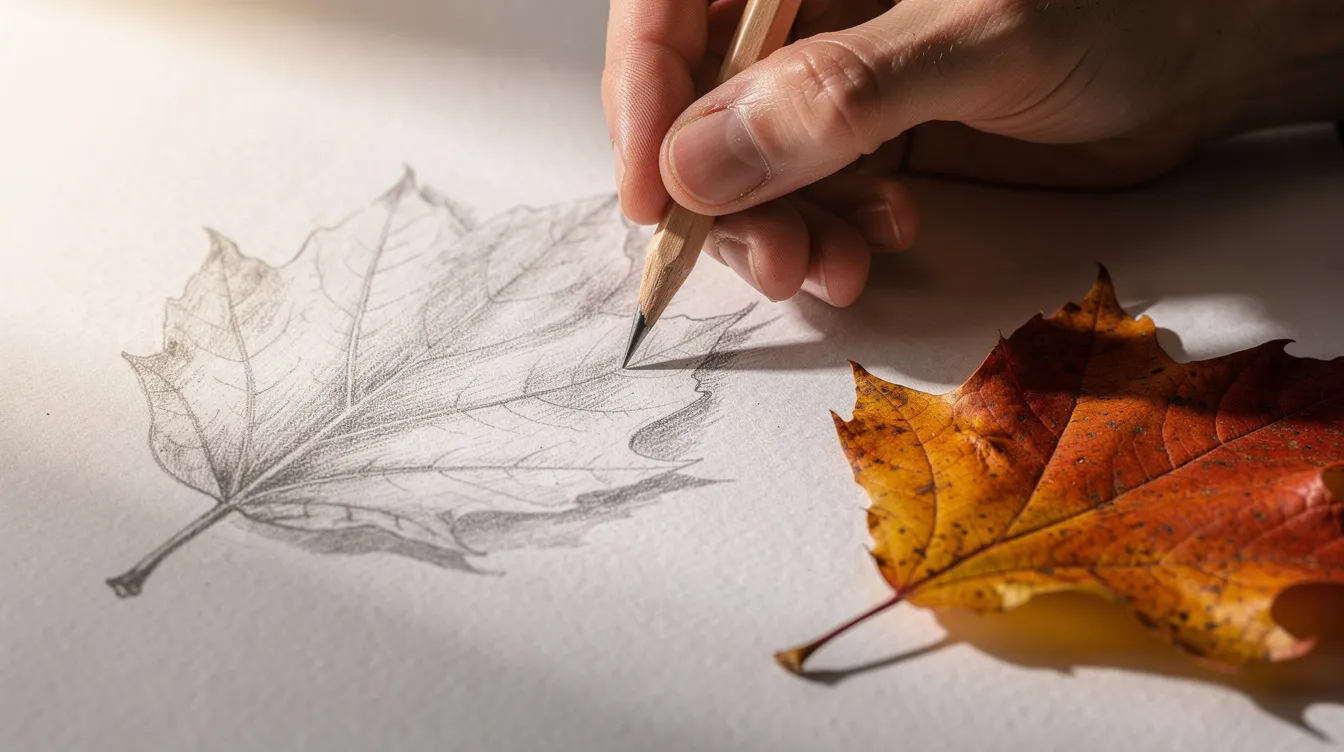
Place the leaf on your page and mark its top, bottom, left side and right side with tiny pencil ticks. These four points keep the size and shape honest. Drawing a classic fall leaf is actually easier when you use basic geometric lines to map the silhouette before worrying about teeth or lobes.
Start with a light pencil outline. Draw a line for the stem first, then extend it into the center vein as one gentle curved line. This midrib sets the angle of the whole leaf drawing. Beginners often draw the stem too short, so check yours against the real thing. Next, sketch the outer edge loosely with short, light strokes, connecting curves rather than forcing one heavy line. I tell myself this is a map, not a drawing yet. Keep pressure soft so you can erase and adjust.
Shaping Edges, Lobes, and Side Veins
Now refine the outline by studying the patterns on your leaf. Maple points are sharp and deep. Oak lobes are rounder and more varied. Many autumn leaves have a gentle saw tooth edge. Follow the real notches even when they look odd, because the odd bits are what make it that particular leaf and not a clip art sign of fall.
Add vein lines after you have the leaf outline settled. Draw side veins from the center vein outward toward each lobe tip, thinning them as they reach the edges. Veins are essential for a realistic leaf representation, but leave out the tiniest ones for simplicity. Watch the real leaf, not your idea of one. My early drawings were all the same cartoon maple because I was drawing from memory instead of looking. Use the eraser sparingly to soften hard corners and balance the form.
Light Shading in Graphite: Finding the Form
Hold the pencil on its side and shade lightly. Think of this step as a rehearsal before you add color. Apply grisaille toning layers for depth in the shading: shade only the darkest parts first, where the leaf curls, dips, or where one lobe overlaps another.
Highlight areas by leaving the drawing paper white where light hits, such as along the center vein or the edge catching the most light. Use pale colors of graphite to depict those bright zones. Squint at the leaf to find its single darkest spot and match it on the page. Blend with the same pencil in tiny circles, not fingers or tissue, so the surface stays clean for colored pencil layers on top.
Adding Color in Layers with Colored Pencils
Start with the lightest base. Lay a pale yellow over the whole leaf inside the outline, keeping pressure light, since you can always go darker but not easily lighter. Using light washes of color like this helps build a foundation for vibrant leaf colors. Then warm it up: soft orange toward the tips, hints of red in spots, and brown or olive green near the stem or in speckles. Leaves should not be colored with a single shade. Use colored pencils or markers to add color in zones, and employ layering techniques to create depth and dimension.
Compare with the real leaf often. If a red looks too bright, tone it down by layering a little green or brown over it. Follow the direction of the vein lines with your strokes for a more three dimensional look. Colored pencils are effective for capturing fine details like color variations across each lobe. Once that feels comfortable, you can move on to drawing red leaves in colored pencil or watercolor for more practice with the reds.
Why layer yellow first and red on top? Because that mirrors what happens in nature. Fall leaves change color due to the breakdown of green chlorophyll. As chlorophyll disappears, carotenoids create the yellow and orange colors that were hidden all summer. Some trees also produce anthocyanins, which give reds and purples in fall leaves. When you build your drawing the same way, the colors feel more natural. For more on the science, see the Wikipedia article on autumn leaf color.
Details, Cast Shadow, and Finishing Touches
Sharpen your pencils and add subtle veining with sharp colored pencils, reinforcing the center vein and a few main side veins. Do not outline every vein in the same heavy line. Pigma Micron pens provide crisp outlines if you want to define the leaf sketch edges more firmly, but I prefer pencil for a softer look. Natural leaves often display imperfections like spots and irregular edges, so draw those in. A torn corner or an insect nibble is not a mistake. It is detail that makes the drawing real.
Draw a simple cast shadow under the leaf with cool grey or muted brown, soft at the edges. My opinion: a touch of purple or dark blue in the darkest shadows looks richer than black and keeps the colorful leaf from going dull.
Pause, step back, and stop before overworking. Do the outline and main colors in about twenty minutes while the leaf is fresh, because leaves curl and fade surprisingly fast. Finish the detail back home. The process of drawing a fall leaf is as much about noticing as it is about the finished page.
Easy Variations and Next Steps in Your Nature Journal
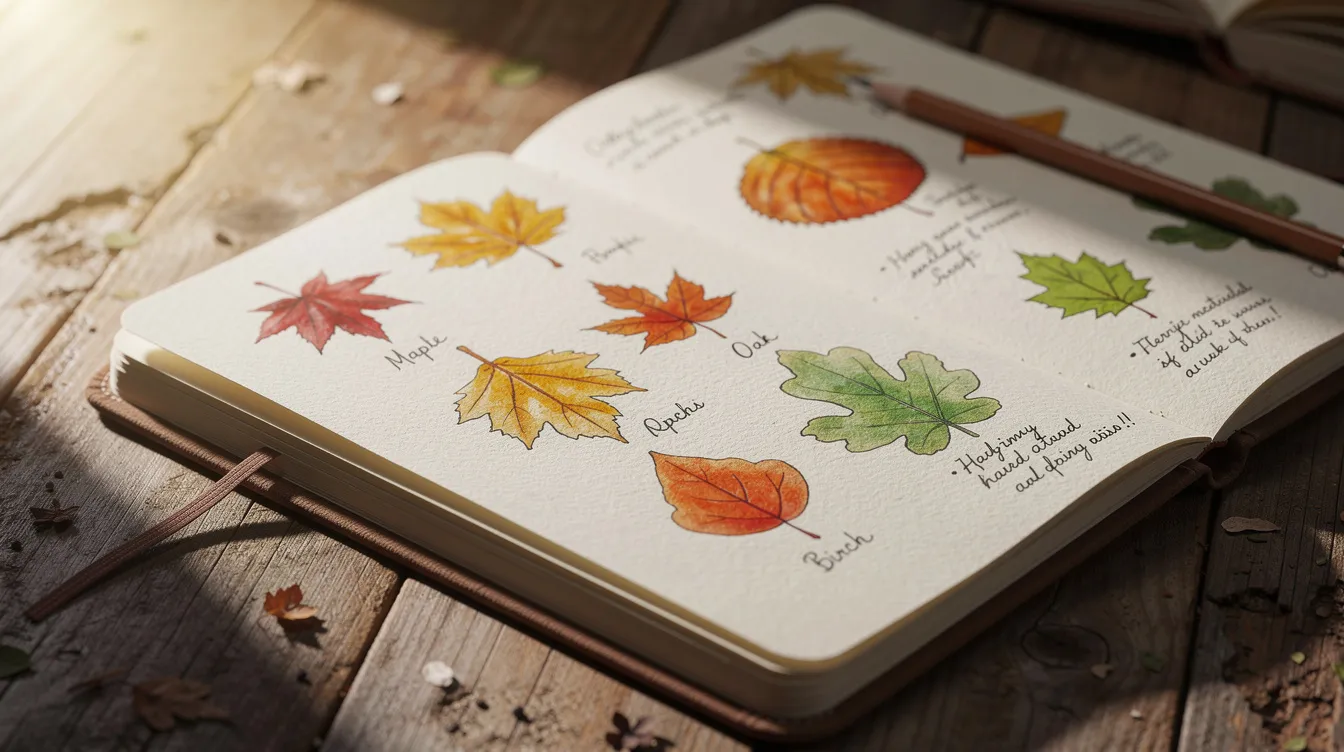
Draw a row of different autumn leaves on one page, each with its own color mix and vein pattern. Try five minute studies on scrap paper, focusing on one thing at a time: just edges one day, just center veins the next. Practice like this builds confidence without pressure.
Add notes beside each sketch. Mine read like “Liquidambar by the Wakefield turnoff, windy, first red leaf of the season.” Sometimes I tape or press the actual leaf beside it, but pressed leaves lose color fast, so the drawing is the real record of how it looked that day. If you want ideas on what to write, think about writing nature observations in your journal: date, place, tree, weather, materials used. If pressing is more your style, try pressing flowers for your journal.
Drawing leaves is gentle practice for botanical drawing. If you like watercolor, do a pencil leaf first to learn its shape, then try watercolor paints, which create vibrant washes for leaf illustrations. A wet on wet watercolor wash is wonderful for color transitions once you are comfortable with the form, and even a 48 pan paint set offers enough range to experiment with translucent washes across the whole spectrum of autumn. Some artists also use crayons or markers for quick studies, and there are helpful videos on the topic if you want to watch others work.
I hope you will draw a leaf from wherever you are today. It does not matter if it is a maple, an oak, a walnut or something you cannot name. Collect it, sit down, and give it twenty minutes. Autumn is one of my favorite seasons because every walk turns up something worth a sketch. The tenth leaf is always better than the first, and the first is better than none. Jump ahead and begin. That is the whole fun of it.
FAQ
What is the best pencil for drawing a fall leaf?
An HB or 2B graphite pencil works well for the outline and light shading. For color, any decent student set of colored pencils will do. You mostly need a good yellow, orange, red, brown and dark green. A pen like a Pigma Micron can add crisp final lines if you want them.
How long should it take?
A simple leaf takes me fifteen to thirty minutes. If you are short on time, outline it and lay in the main colors at the roadside, then add detail later at home.
Do I need to draw from a real leaf?
I strongly recommend it. A photo works when you cannot go outside, but the real leaf shows angles, translucence and color shifts a photo flattens. You will notice more and your drawing will be more accurate.
How do I stop my leaf from looking flat?
Use several color zones, layer lightly at first, then add darker tones in shadows and along edges. Leave small areas of light paper as highlights. Following vein direction with your strokes also gives the form dimension.
What if I am not good at drawing yet?
A leaf is a simple shape with a lot of reward in the color. Keep each attempt short, comment to yourself on one thing you liked, and do another tomorrow. Kids and adults alike can draw fall leaves. No art lesson or training is needed, only curiosity and a few colored pencils.